In the first article in the series, we installed Python & Selenium and used them to write a script that opens a browser. In today’s article, we’ll look at how to do some basic inspection of web pages and modify our script to interact with them.
Selenium can do most of the same things you can do with web pages–namely, clicking & typing. But, just like you read and interpret what you see to know what to do, you need to tell your script how to find and do the things you want it to.
The easiest way to do this is to use the “inspect” functionality that exists in most modern browsers to help find identifiers you can use in your code. Let’s try it out with everybody’s ol’ buddy Google. Browse to google.com, right-click the search box, and pick Inspect.

This will take you to the selected element in the web page’s code. This is the part where you start to get some choices. Selenium has a lot of different ways to find elements, so you need to know about what you can use and compare it to what’s available. Usually the most reliable way to get an element is by using its id.

Usually, using an element’s id property along with Selenium’s find_element_by_id method is the most reliable way to find the element, but we don’t see an id when we look at Google’s search box.

We can see a name property with the value q, though, and there’s a find_element_by_name in Selenium, too; so let’s use that! With the element selected, you can use Selenium’s send_keys method to simulate typing. Add the following lines to your script:
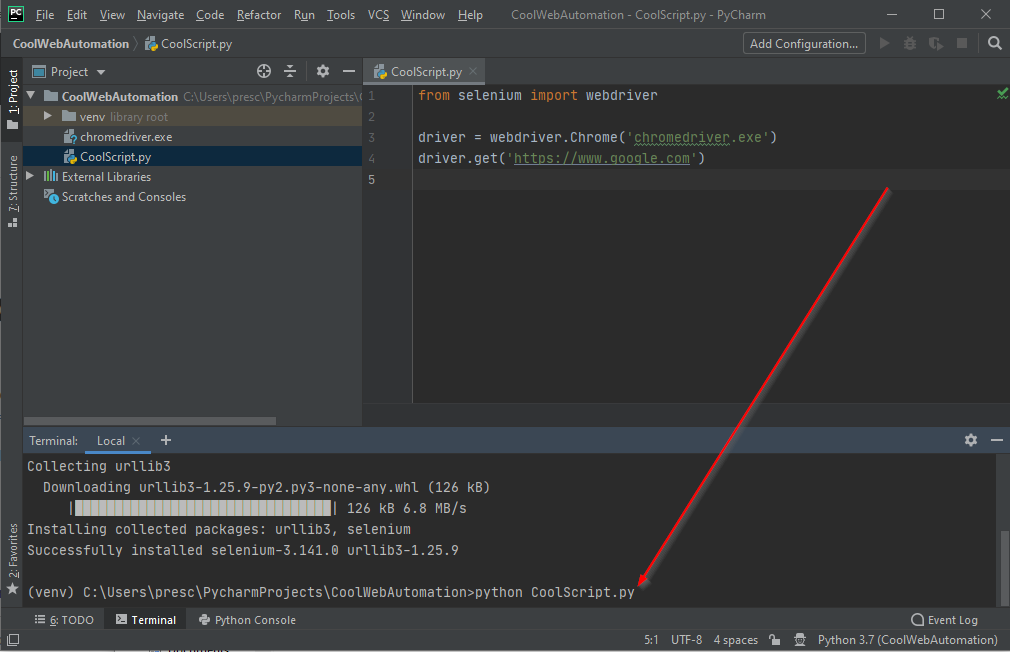
from selenium import webdriver

driver = webdriver.Chrome('chromedriver.exe')
driver.get('https://www.google.com')
search = driver.find_element_by_name('q')
search.send_keys('test search')
When you run this script, the browser will open and send the specified text to the search box. Now we need to submit the search. Google has a search button, so we can repeat the steps to find the button and click it:
button = driver.find_element_by_name('btnK')
button.click()
But, that’s not really how you search with Google, right? No–you type your search and press enter. To simulate this, you can use the submit function on the search element:
from selenium import webdriver

driver = webdriver.Chrome('chromedriver.exe')
driver.get('https://www.google.com')
search = driver.find_element_by_name('q')
search.send_keys('test search')
search.submit()
Run the script again, and you’ll see your search submitted and search results displayed. Cool stuff! Let’s do a quick review of all the tools we have now:
- Browse to sites using
webdriver.get - Find elements using
webdriver.find_elementmethods - Enter text with
webdriver.send_keys - Click things with
webdriver.click - Submit forms–like you would do by pressing
enteron your keyboard after entering data–withwebdriver.submit